At Harmony Group, we believe cutting-edge technology like AI and VR should be accessible, not intimidating.
That's why our tech lead Owen Corstens decided to show just how easy it actually is to integrate these technologies with OutSystems' low-code platform.
In this blog series, Owen takes you through his experiments step by step. Whether you're a developer, a business leader or simply a tech enthusiast, you'll see how platforms like OutSystems can accelerate innovation. Let's dive in! 🏊
The goal: speech in a VR scene
When I first imagined this project, I had one clear goal: I wanted to create a Virtual Reality scene in OutSystems where I could build the entire world around me... just by talking to it. And the best part? I didn't want to predefine anything: not the environment, not the OutSystems database. AI had to do all the heavy lifting. Why would I do it myself? 😉
One important detail: we're building a web application. Since we're using OutSystems and want this to work in VR, that simply seemed the most logical choice.
🎯 Cool goal, but where do you start?
Step 1: getting the app to listen
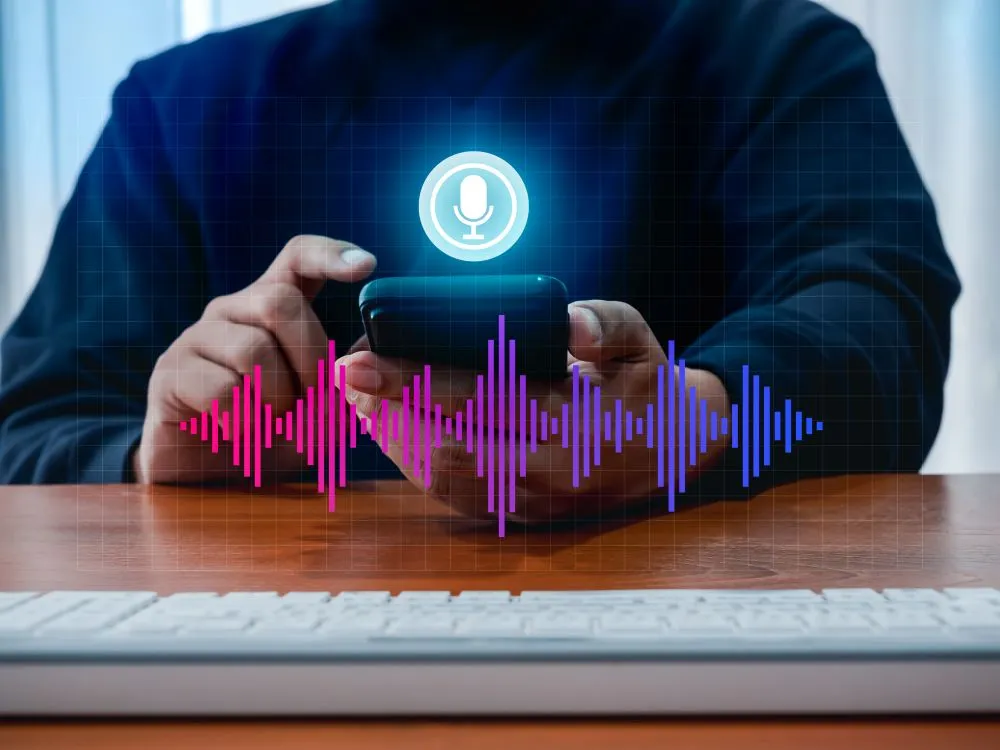
I figured the first step was making sure the application could hear my voice at all. So I started simple. The only goal was to talk to the app. There are loads of ways to make that happen, but when I started experimenting with speech listeners about a year ago, I had hardly any experience with them.
So I went with something familiar: the built-in WebKitSpeechRecognition API. I'd used it before for a hackathon, so it felt like a safe starting point.
This web speech API is part of the browser, but what I didn't know at the time (and only found out during implementation) is that it's still an experimental feature. That would soon turn out to matter.
After setting up the right listeners and methods, everything seemed to work pretty smoothly. I just had to trigger it, and voilà, it started listening.

Nice! I was clearly on the right track. Seeing my voice appear on the screen felt like a win 😎😎 Sadly, the Web Speech API wasn't ideal. It really struggled with my beautiful accent. I didn't let it bother me too much, since I was mainly looking for a happy flow.
Still, I got a lot of weird and wrong results. Like the time I said "make the box with ID object one smaller," and it caught something about 'warmth'. And that was already my third attempt...
So yeah, not ideal.
Step 2: a real wake word
We kept going. The next step: making the speech listener activate automatically, so I no longer had to press a button every time. That meant I needed something like a Wake Word Function. Sounds cool, right?
Some quick research showed me there are tools like Picovoice that do this for you. But of course I wanted to build it myself. Easier said than done.
Once again I got creative with WebKitSpeechRecognition. By using a continuous listener, I kept the microphone open. We added logic so that it only responded to a specific command, not to everything I said.
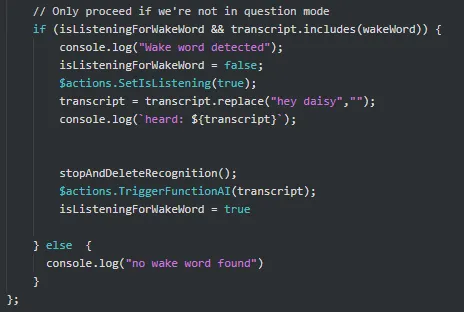
After quite a bit of trial and error, it finally worked: the app responded when I said the right command. As you already saw in the title, my trigger phrase became "Hey Daisy." Originally I wanted "Hey AIRY," since that's the name of the project, but the API couldn't make sense of AIRY the way I pronounced it at home. So it became Daisy 😅
To make it a real Wake Word, it also had to listen while I wasn't actively using the app. And that's where I got stuck. Both iOS and Android blocked an open audio connection in the background. There are shady workarounds, but I wanted to avoid those for now.
🙌 ALRIGHT! Everything seemed to be falling into place... right?
Not quite.
Step 3: the problem in VR
Later, while testing in a VR environment, nothing responded to my commands any more. Everything worked in the regular browser, but in the VR environment it was as if it couldn't hear me.

After endless testing and debugging, I found the cause: the browser speech APIs simply aren't supported in the META browser on the Quest 2. Even alternative browsers didn't work. Experimental, like I said.
So I pivoted. What if I sent the commands from another device? Since speech did work on my desktop and my phone, that seemed feasible.
Step 4: commands through a websocket
New challenge: how do I get those commands into the headset?
With OutSystems, sending data to the server was easy. But how do you get that data back to the VR client? That was trickier.
First I tried polling, but that put far too much load on the client. Not a good idea. And yes, exposing APIs... I'd already been roasted for that by an OutSystems tech expert 😅. I tried timers too, but that didn't solve anything.
After some ChatGpting (yup, we're making it a verb, like googling), I came across websockets. That sounded like a solution!
I dove in, started from scratch and... landed straight in the Amazon universe 😖 So much new stuff I had zero experience with. But hey, I do love a challenge.
(We'll cover setting up a websocket in OutSystems in the next blog. For now, let's keep our focus on the speech part.)
And yes, with a websocket it worked! The environment could finally hear me. Perfect! But of course, solve one problem and you get another in return.
I actually already knew about that problem, but had ignored it until now. The speech API didn't recognise my commands properly. Sometimes I had to repeat a sentence ten times. Super frustrating. And the worst part? You never know where it goes wrong: the speech API? The websocket? The AI? Or was it just misheard?
Step 5: starting over with Azure Speech
So... I threw it all away :)
Sometimes starting over is simply the best option. 💡
We dropped the entire command-passing feature (I almost cried 🥺). I decided to switch to the Azure Speech APIs, which I'd also used at the hackathon. They're not free, but the headaches weren't worth it. I considered Amazon too, with their free credits, but I stuck with Azure.
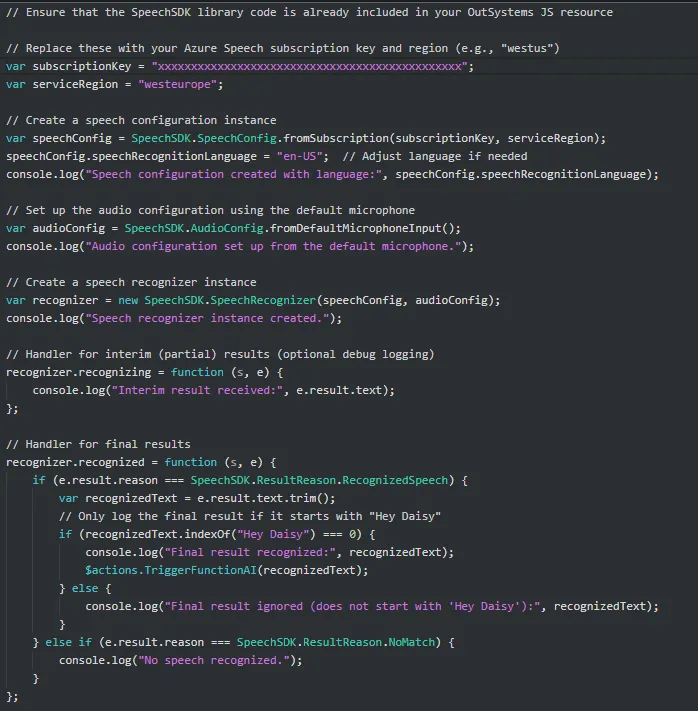
⚠️ Side note: OutSystems imports libraries in a specific way. More on that later. For now, just import the Azure Speech SDK webpack into your OS project.
Alright, this blog is getting long, but you're almost there! And yes, you'll get to see the component soon 😉
The last hurdles
After adding the Azure Speech API, everything worked almost perfectly. But then again, every problem you solve brings new ones. This time, two.
The AI tries to improve your sentence. Sounds handy, but it meant it no longer recognised my trigger. It started adding commas. My solution: I changed the command from "Hey Daisy" to just "Daisy." I still say "Hey Daisy," but the continuous listener sometimes misses the beginning, and that made it fail too often.

Autoplay policies in browsers. If you've ever tried to open a microphone or camera right after a redirect, you'll know: it doesn't work. WebKit Speech worked fine straight away when the page loaded. But the Azure SDK? Nope. No error, no warning.
The fix: I needed a user gesture. Instead of complicated workarounds, I simply made a start screen with one big button to launch the app. Simple. Effective.
🎉 And there it was: my final fix!
The result
It's been an amazing ride getting the speech system to work the way I had in mind. After all those obstacles, we now have a working Wakeword Function that turns my voice commands into real actions in the app.
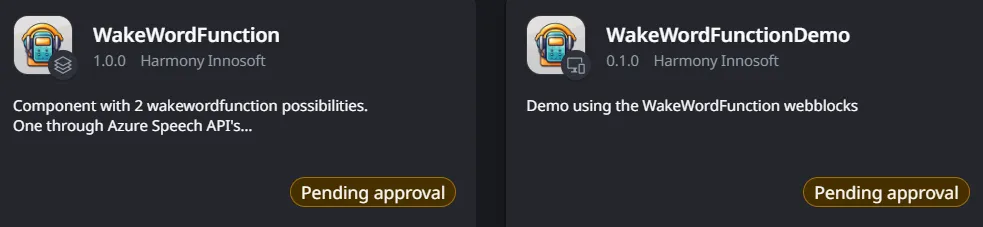
The WakewordFunction Forge components are now available to download! You get a library component and a demo app (ODC only for now). Try it out, improve it and above all give feedback :) I'm 100% ready to build even better WakewordFunctions! 💖
I had a few meltdowns along the way, but I'm glad I kept going. This speech part has become a core part of my project.